
Hello Everyone,
it’s me again. After a long absence, I can finally dedicate some time to myself and all of you, companion crafters.
If you read all my posts, you probably know by now that I am a mommy crafter. My sweetheart is turning three this month and I wanted his first party with friends to be something to remember.
Of course when you want something to turn out the way you planned, nothing goes right: some friends got sick and we had an epic cake fail. Our bakery lost our reservation and on short notice made a chocolate cake with a very embarrassing print.
The theme of the party was Space and Astronauts, so we asked for a colorful cake with an Astronaut print for a three years old, but this is what we got…
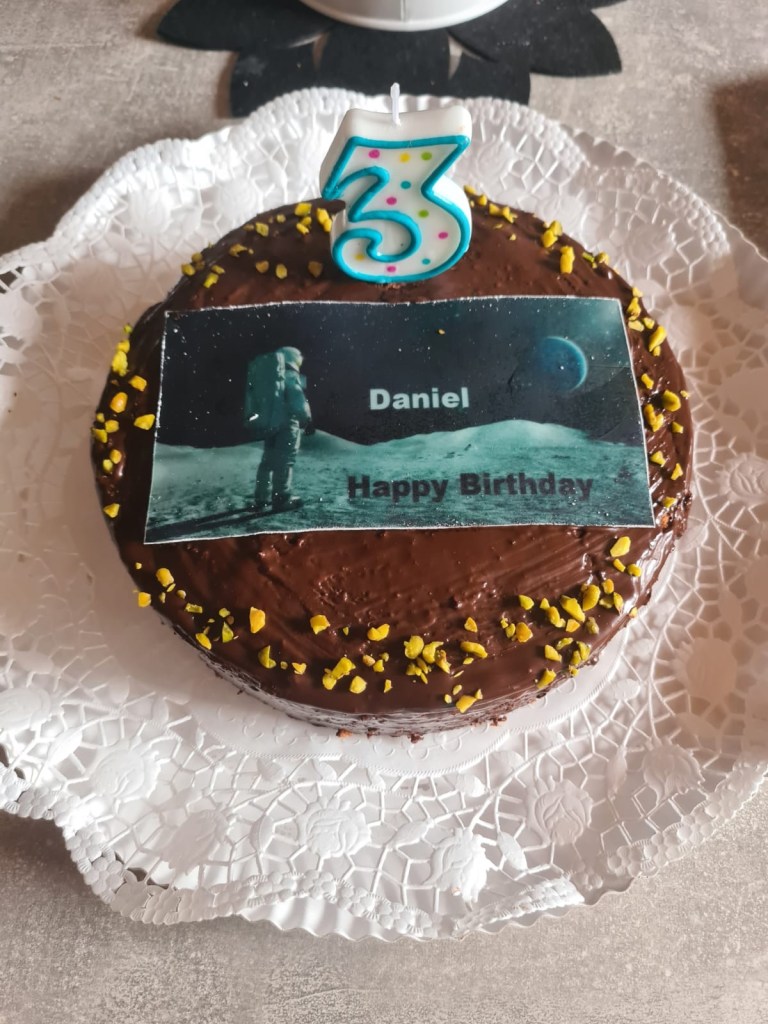
You can imagine how I felt. I simply wanted to cry as I saw this cake. But breath after breath, I said myself my son wouldn’t mind much and will enjoy the party anyway (with or without the cake).
For this party I planned to craft almost E V E R Y T H I N G ! Having a little child simply made my creativity bloom again. Today, I want to show you one of the projects for this Birthday party: a Birthday card.
For this easy project, I used my companion Cricut Joy, which is gifting me with many happy crafty days. Making this Birthday “insert” card is SOOOO easy.
Here is what you need:
- Cricut Joy (Maker or Maker 3, Explore family or Explore 3)
- Cricut Joy App (for iOS or Android to use only with Cricut Joy) or Cricut Design Space (for all the other Cricut machines)
- Cricut Joy Insert Cards, Pastel Sampler
- Cricut Joy Card Mat
- Curved Pointed Tweezers
The Cricut Joy App is very intuitive to use and I bet that many of you never give a try. It guides you step by step into your project with short videoclips. For quick project like this card, it is my favorite tool. I have installed it on my iPhone 14 Pro, for easy crafting on-the-go.
- Select the project type. Here we choose Custom Insert Cards.
- A list of supplies shows up and we are prompted to press Start Designing to personalize our own Insert Card.
- The Set Up window opens and we are prompted to choose a corner style for our Card. There are several options for symmetric and asymmetric corner styles. With a Cricut Access subscription more options becomes available. I pick the Double Corners style available only for Cricut Access subscribers.
- Then select the card orientation. For this card I choose a standard Portrait orientation.
- Then choose the Card size. Three sizes options are given by default: 8.9×12.4 cm or 10.8×14 cm or 11.4×15.9 cm. The Cricut Joy Insert Cards Sampler I used for this project comes in 10.8×14 cm size.
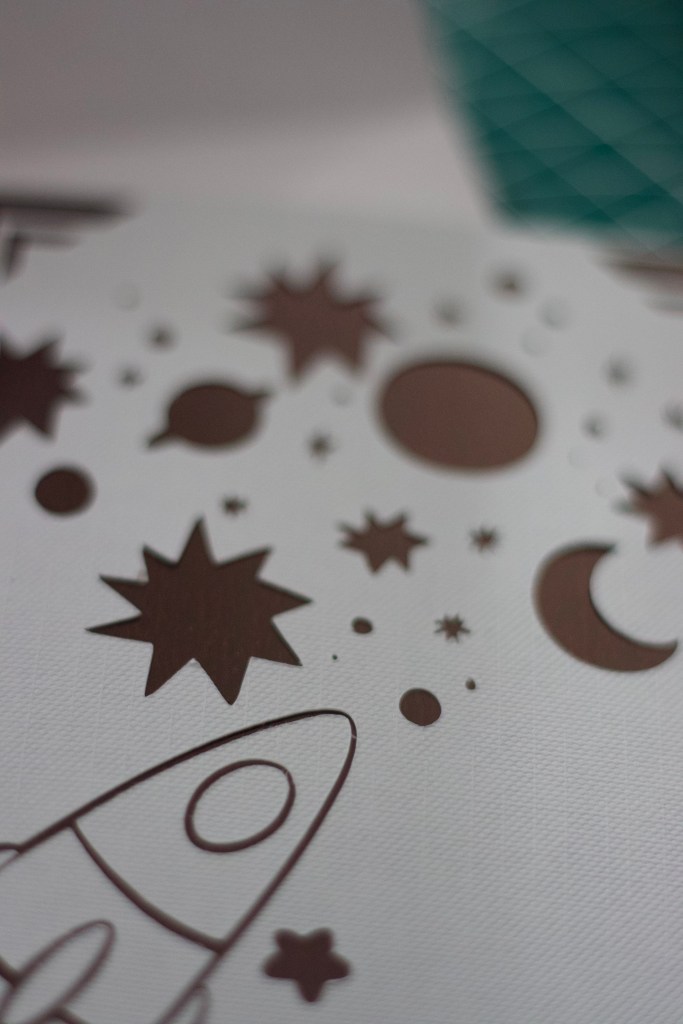
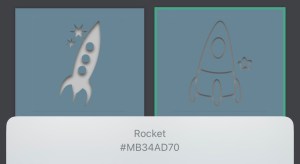
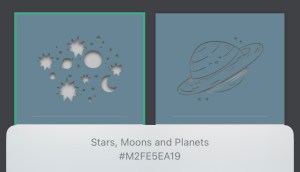
- You are ready to add image to your card. I searched for planet and rocket images and selected the two below for my card. Re-sized and moved on the front of my card until I like the setup.

TIP: save the cut area and glue it in place.
And again a look at the finished card before you leave.

This card is not only a great Birthday card idea but could also be used as Birthday invitation. Let me know in the comments what you think of this project and if you would like to see a video of how to make cards with the Cricut Joy app.
Sending lots of love,
Lalla
